


Project: 1968
Chevrolet
Camaro
Status: Completed
History
and Facts
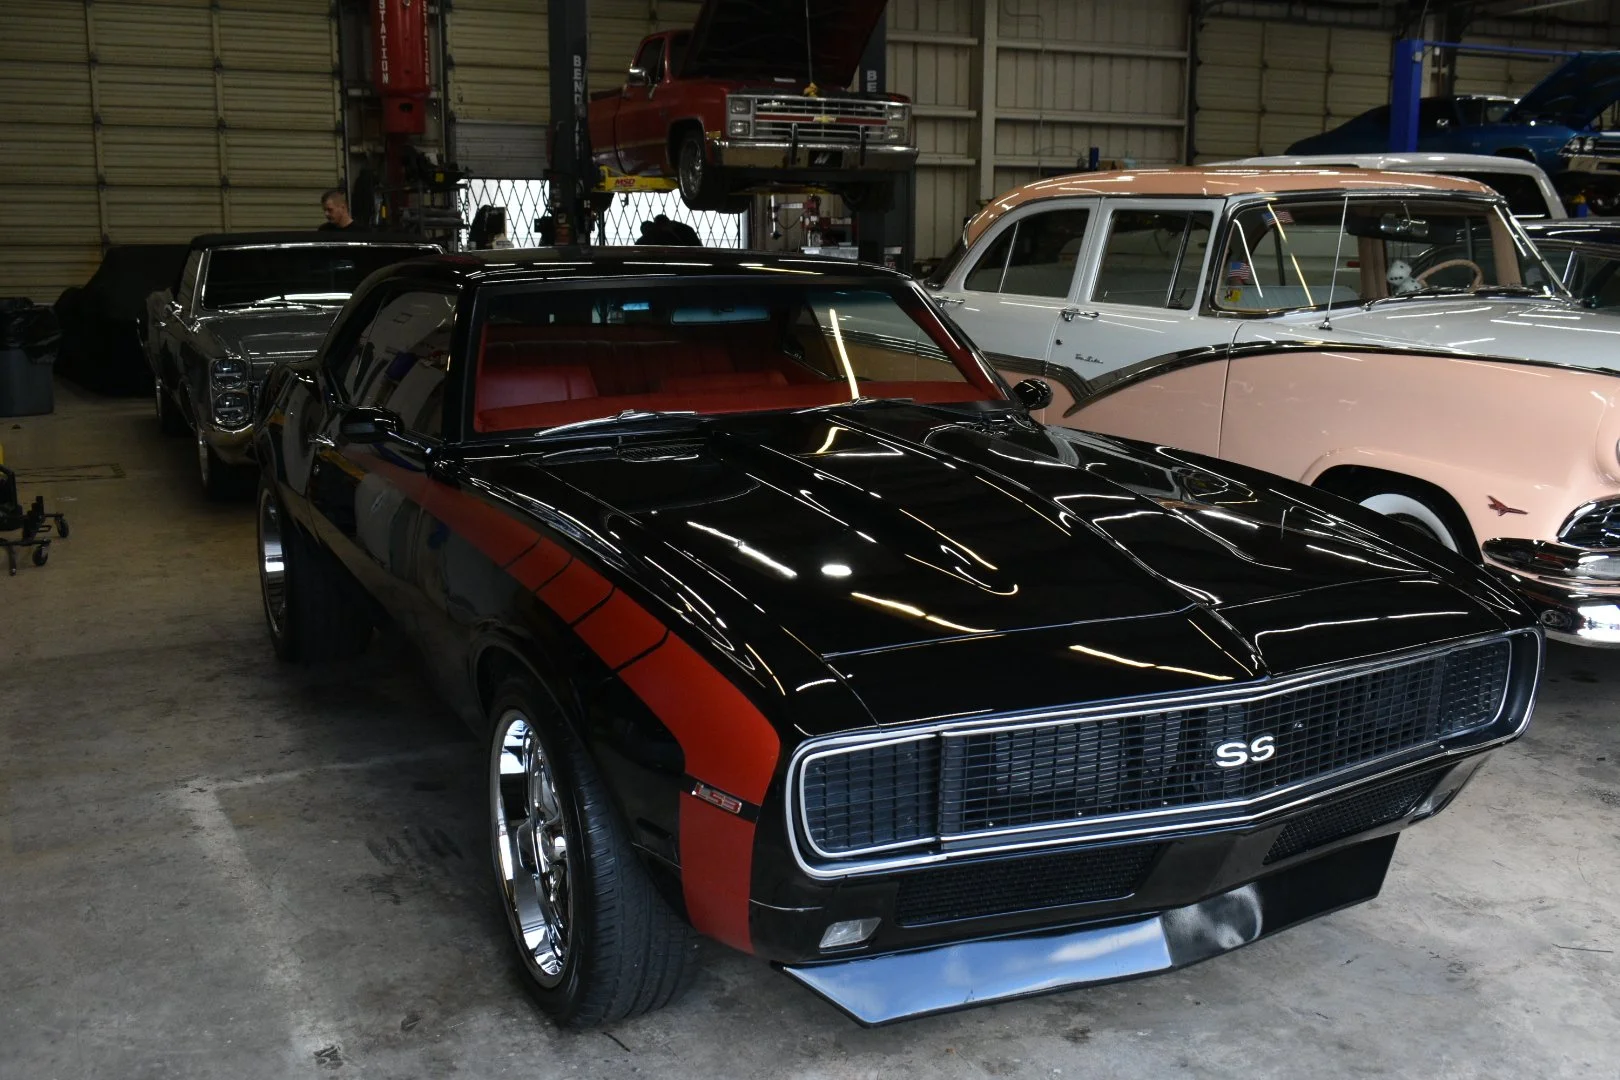
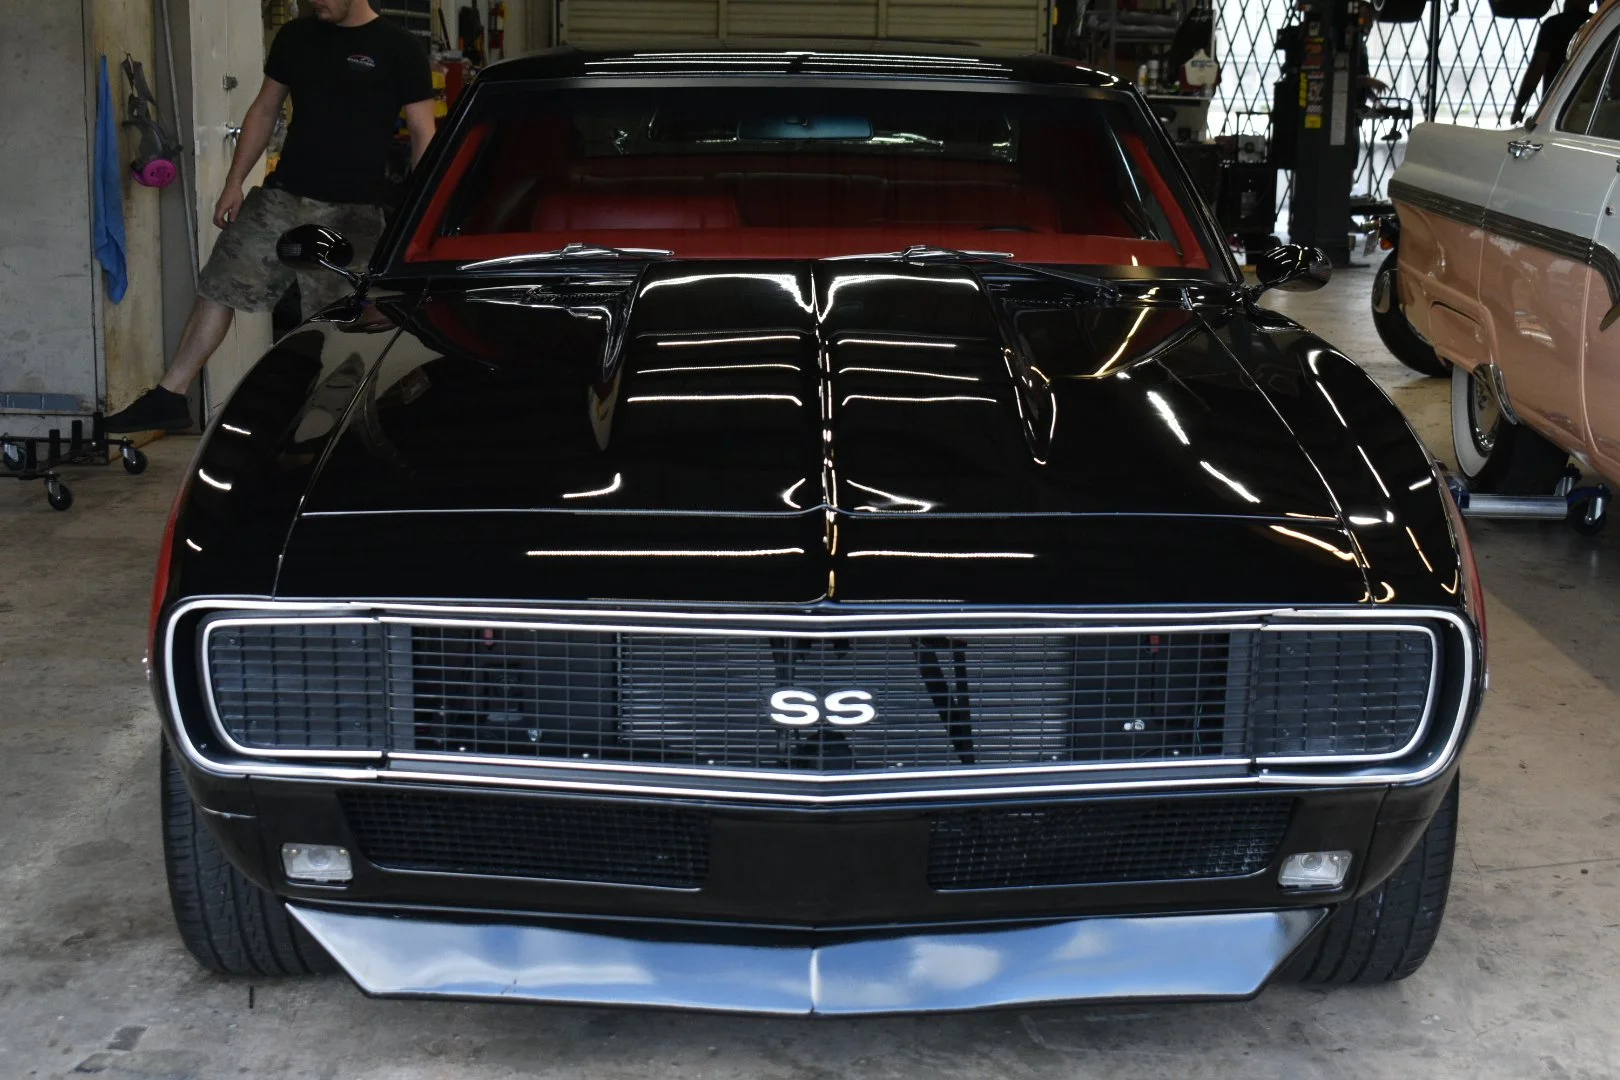
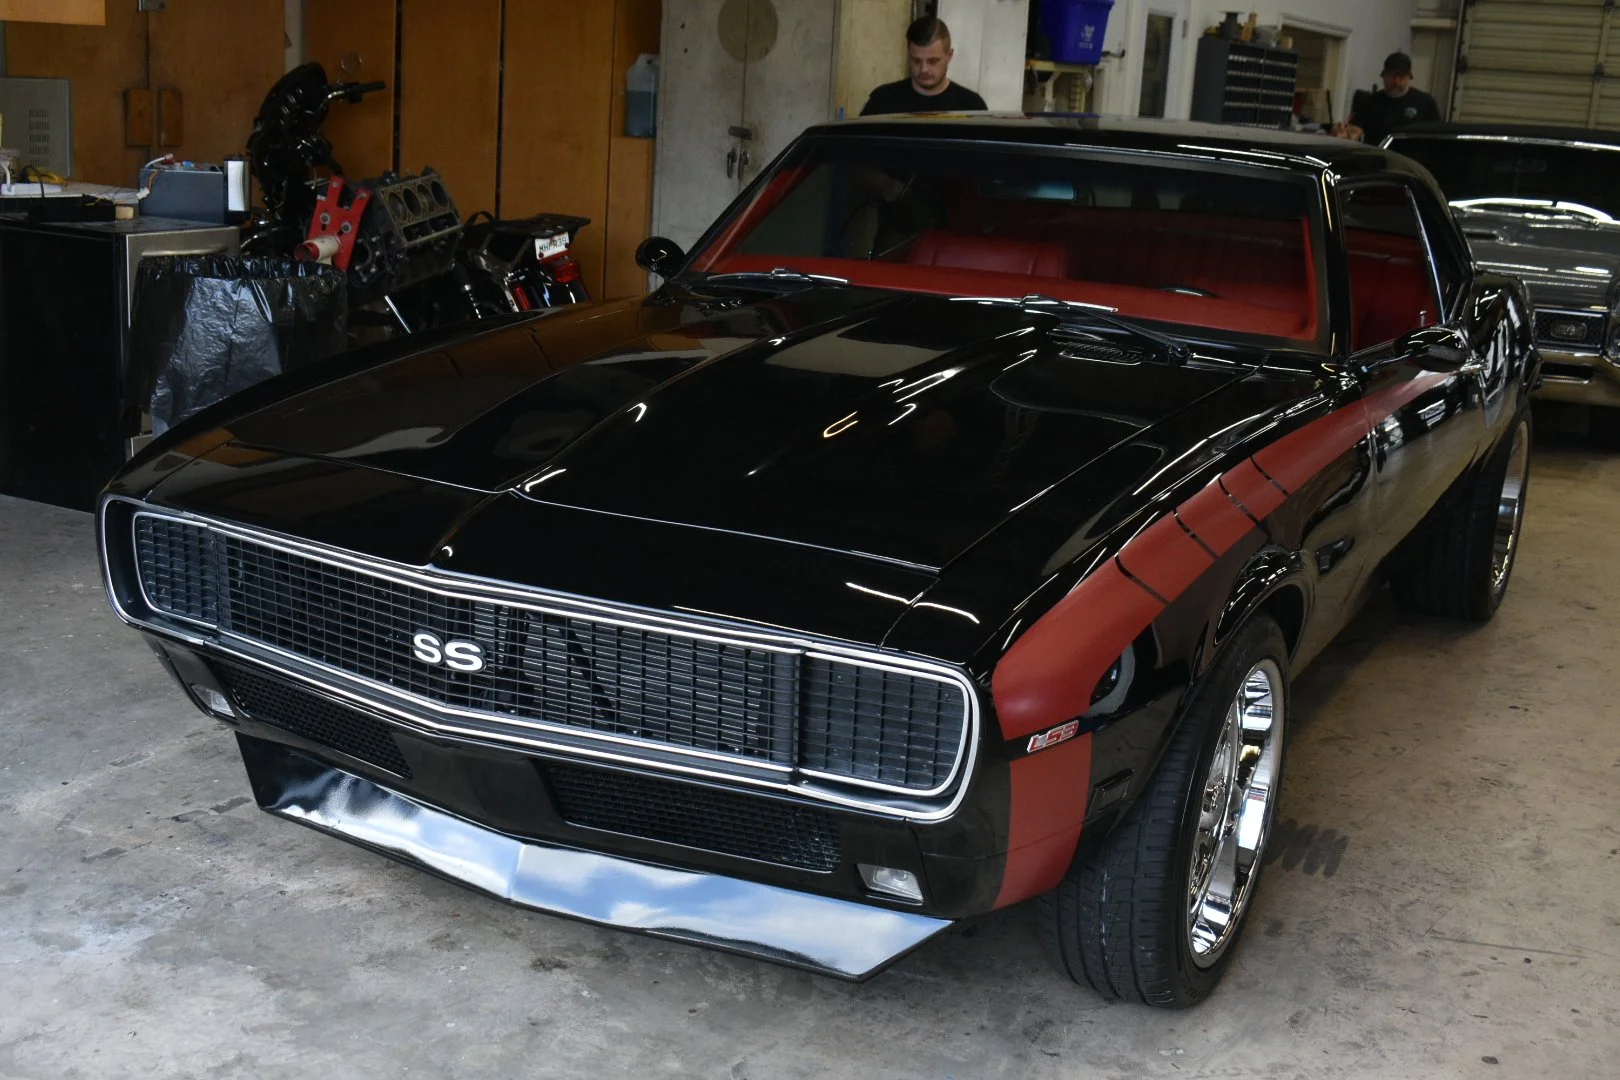
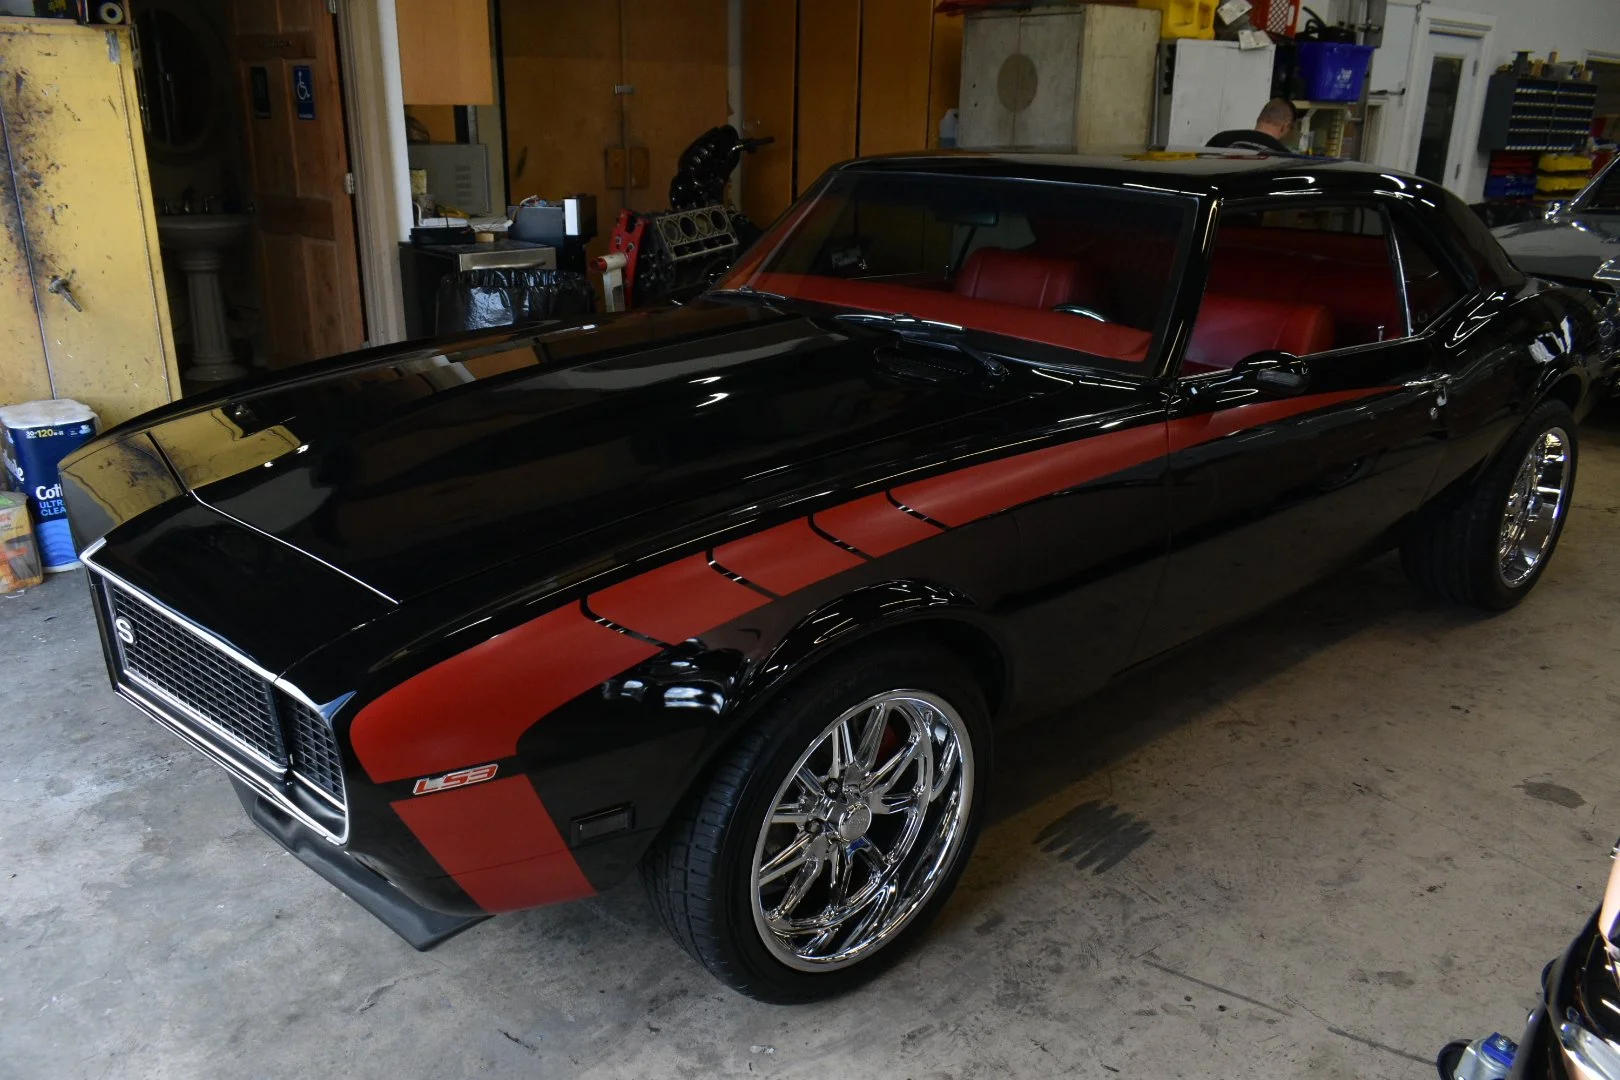
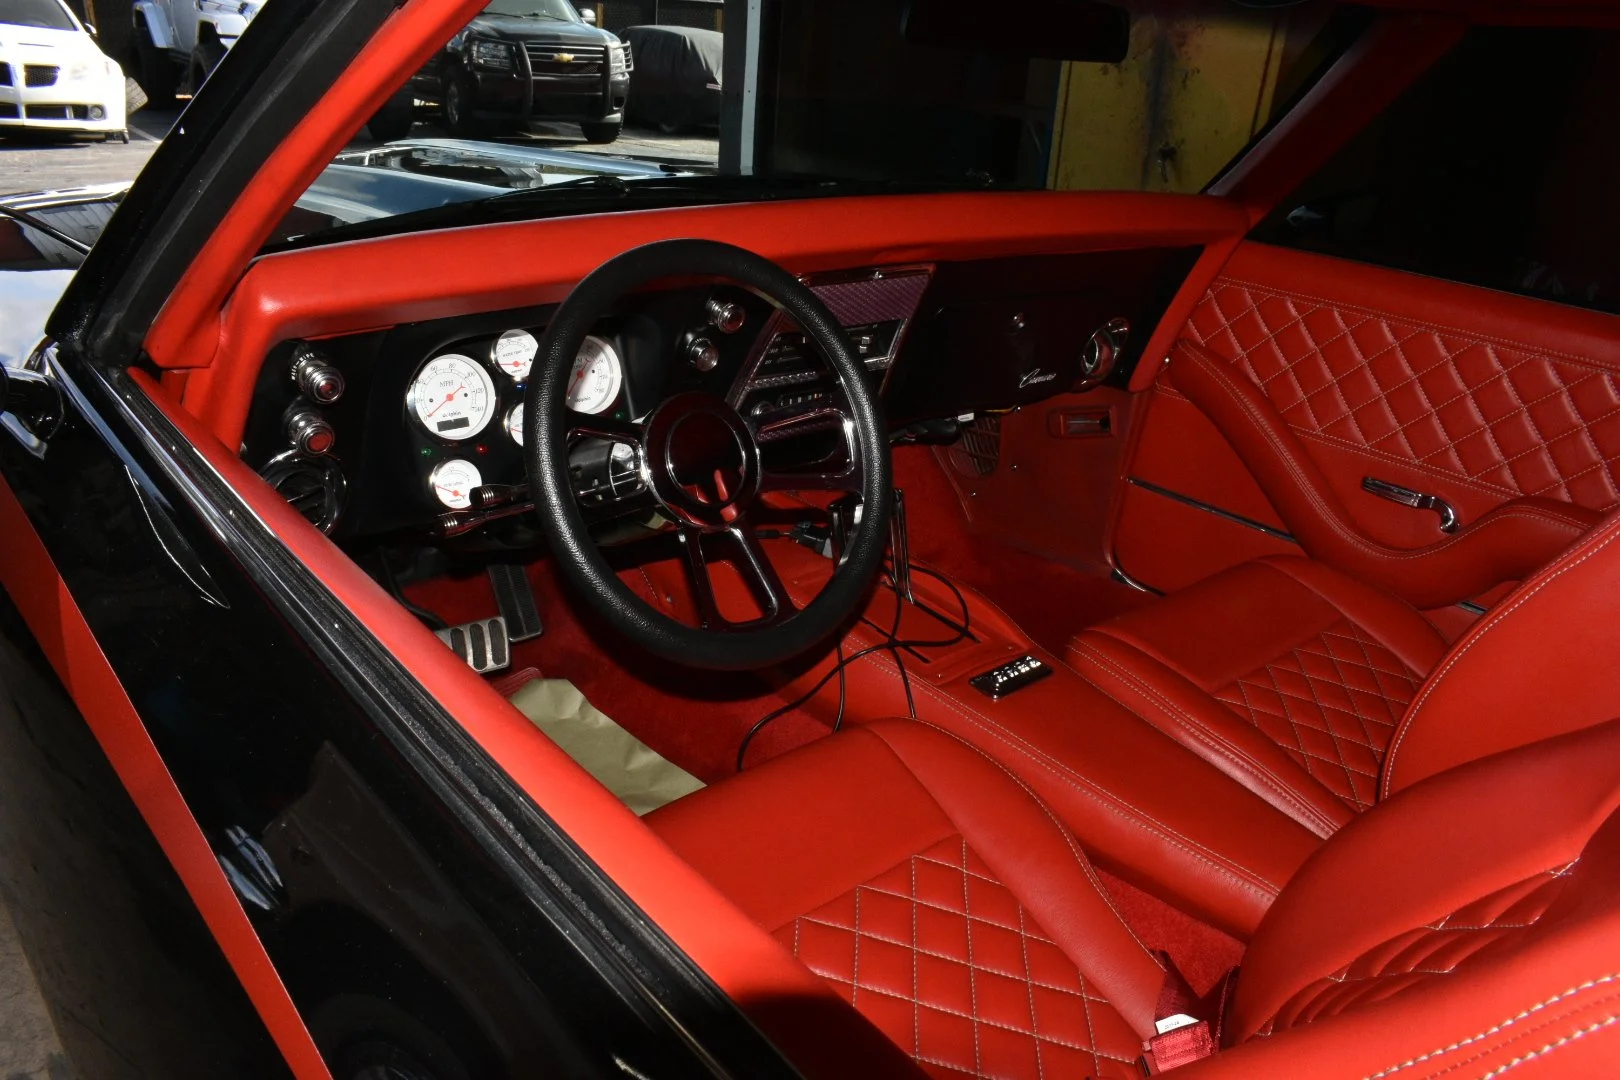
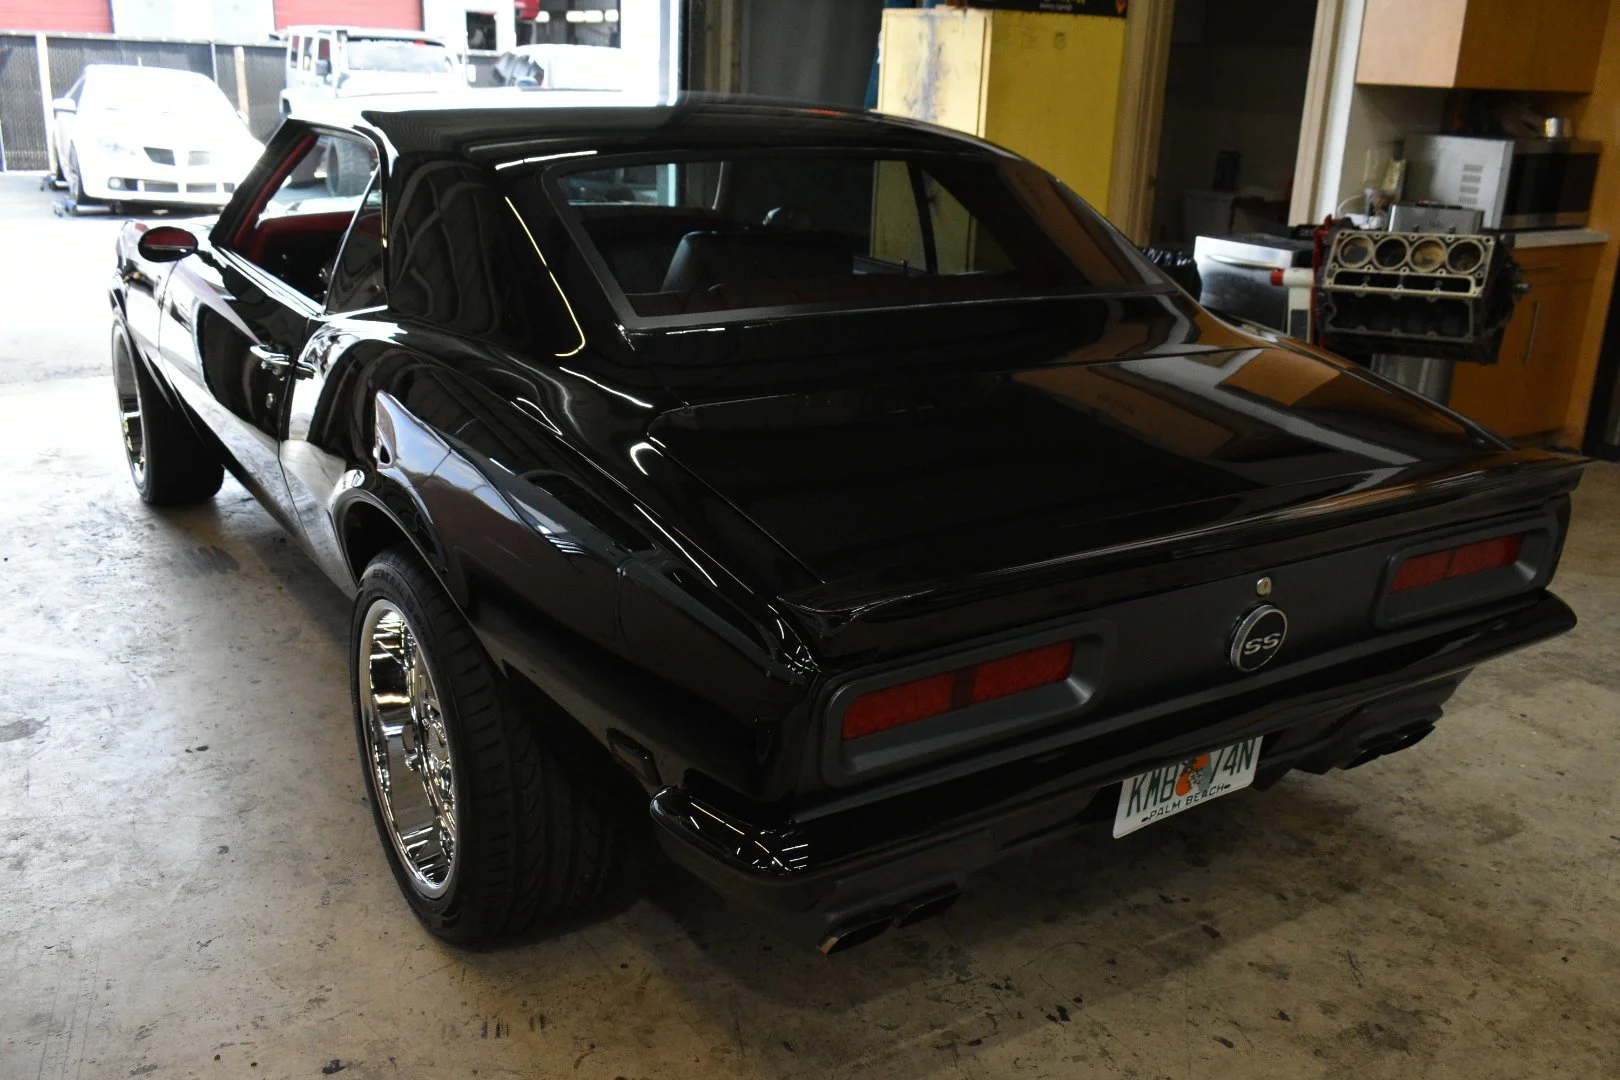
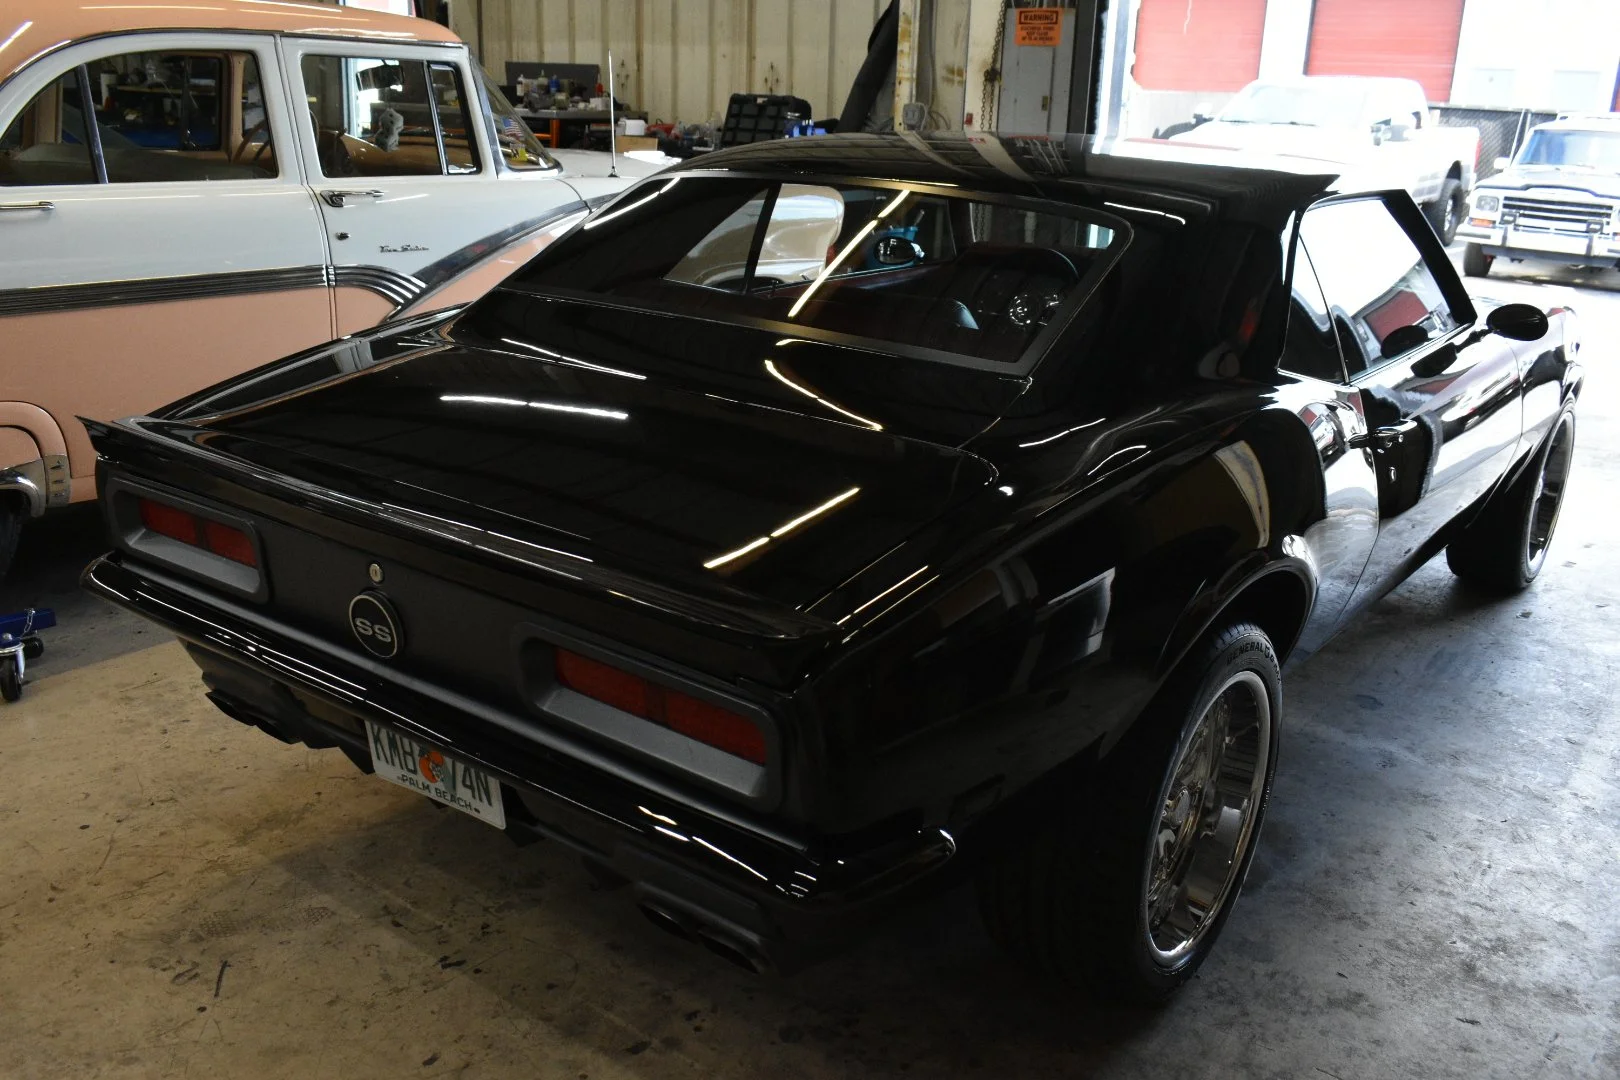
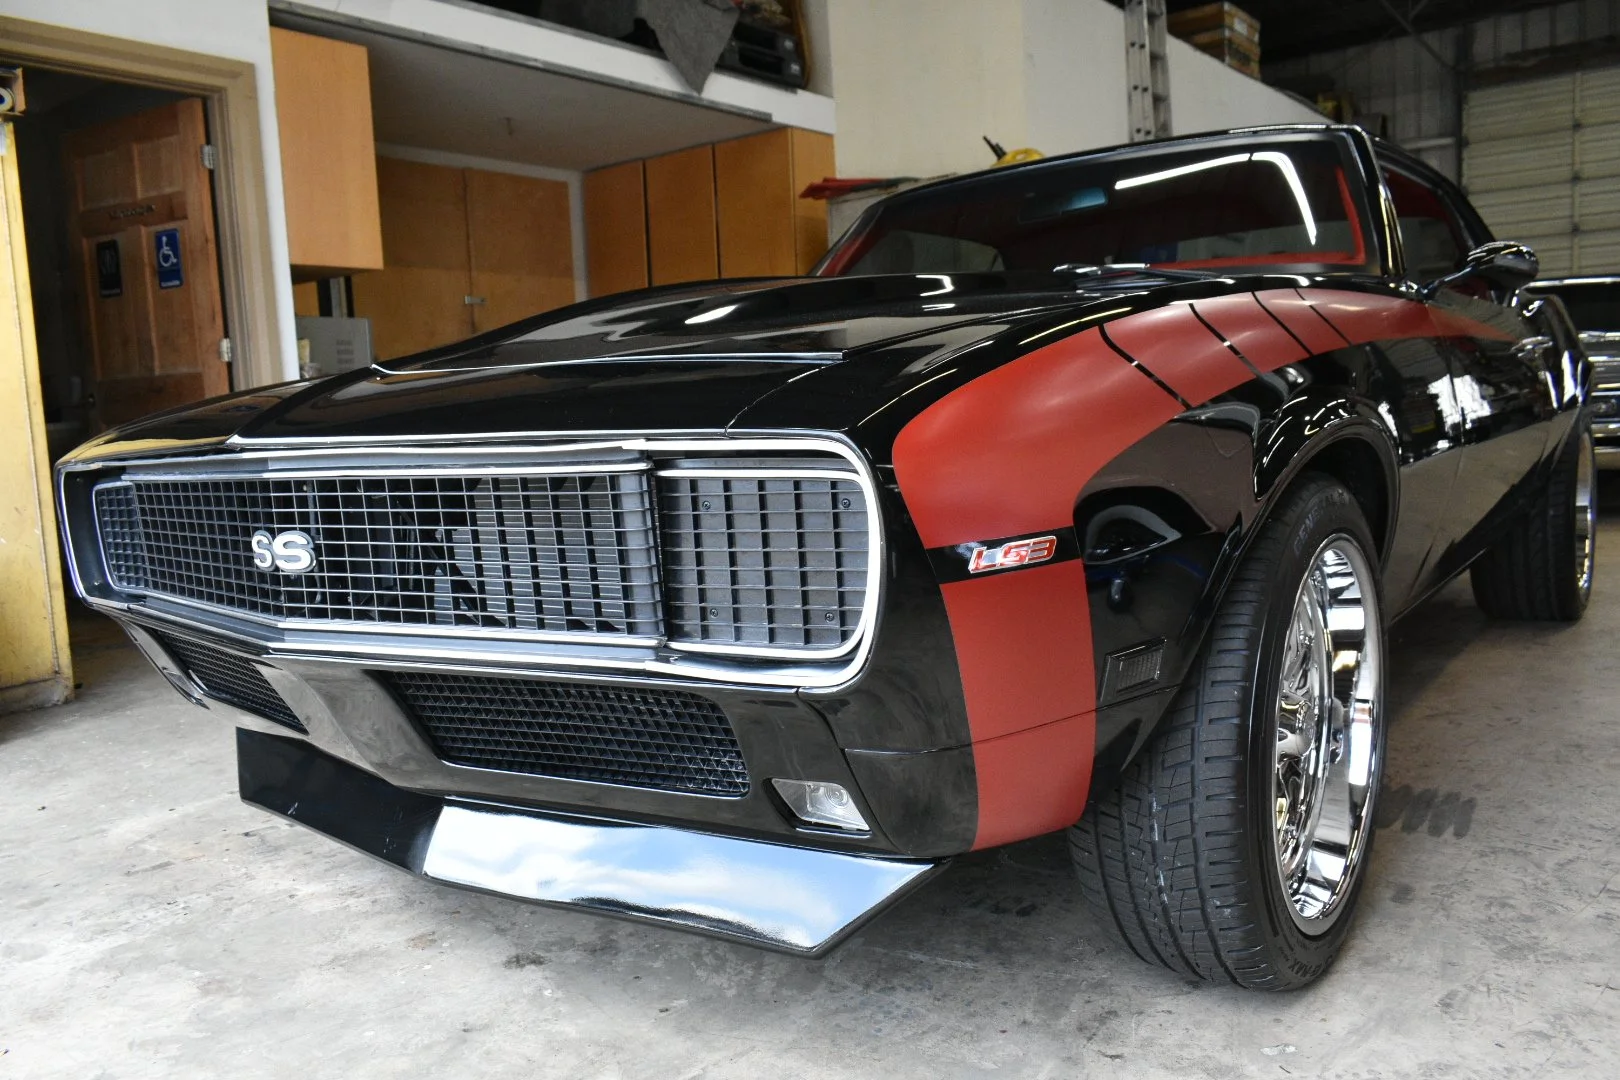
The 1968 Camaro featured a pointed front grille, divided rear taillights, and side marker lights on the front and rear fenders, similar to the 1967 model. Non-RS models had oval front running lights, while big-block SS models had chrome hood inserts and a low-gloss black rear tail light panel.
With a 108-inch wheelbase, the 1968 Camaro was 184.6 inches long, 72.3 inches wide, and 50.9 inches high. Tire sizes varied based on the engine, with the I-6 and 327 CID 210 HP models equipped with 7.35 x 14 tires, and the 327 CID 275 HP and 350 CID 295 HP models fitted with D70 x 14 tires.
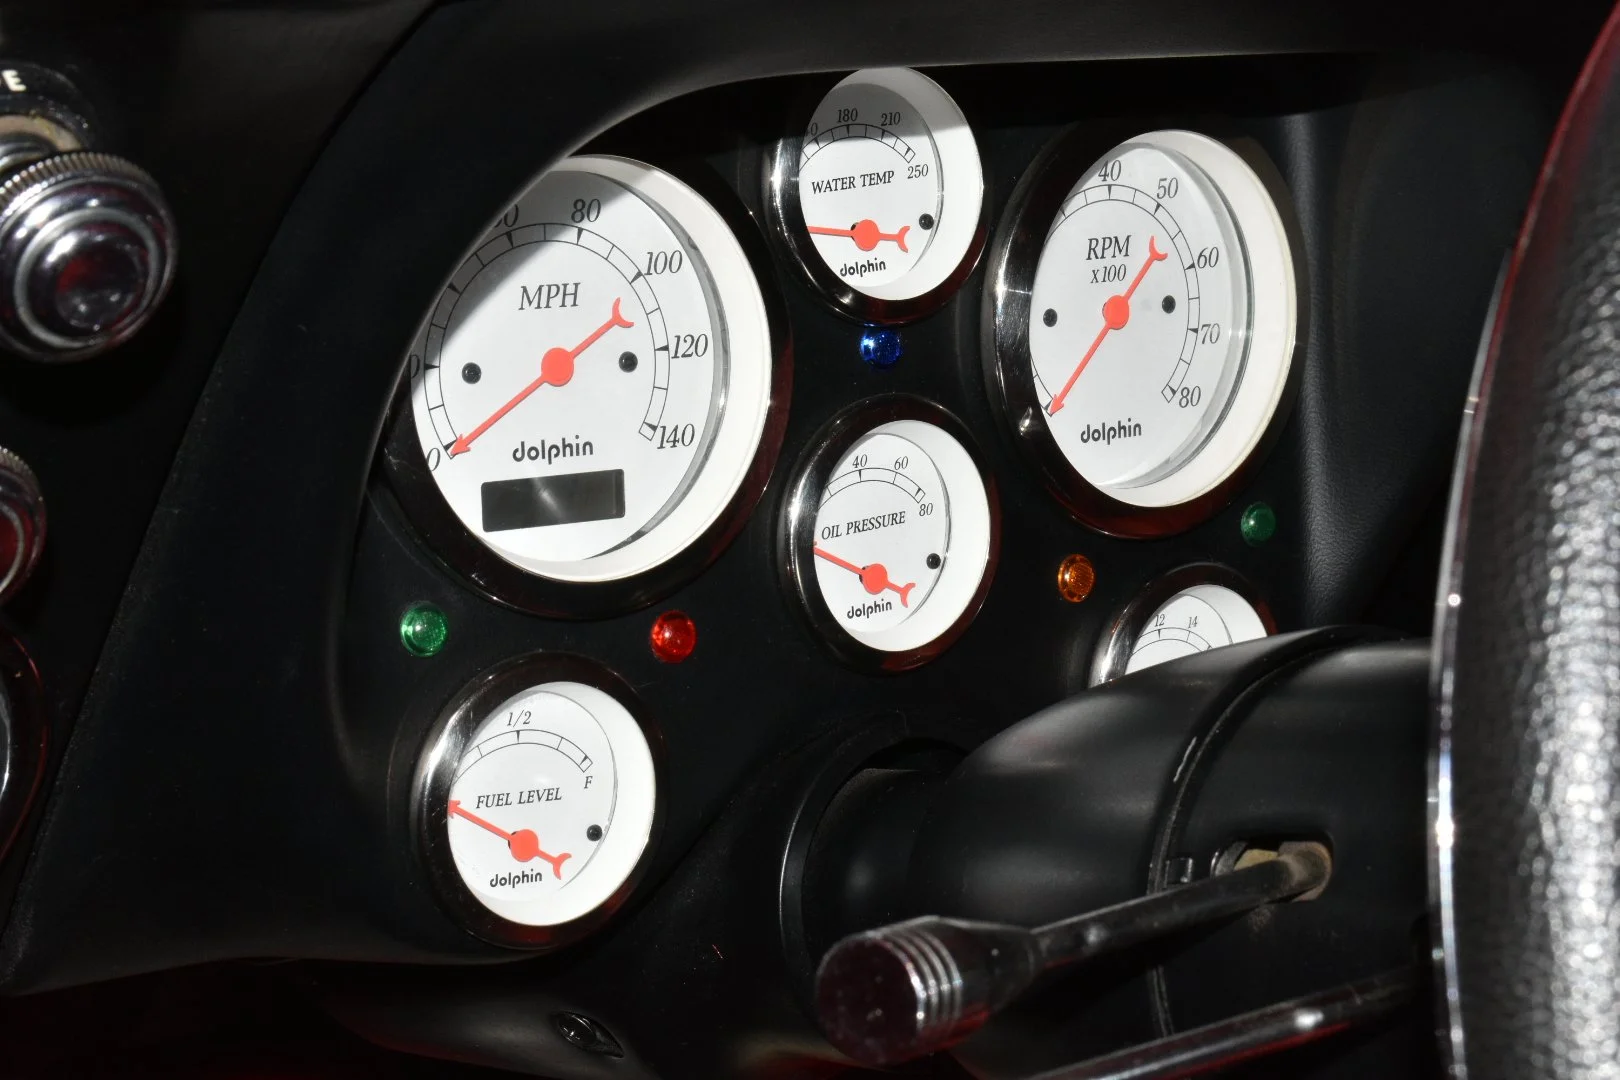
The car featured Astro Ventilation, an air-inlet system that eliminated the need for side vent windows, as well as a slow-ratio power steering box and round gauges similar to those seen in a Corvette.
The 1968 Camaro was available with various engine options, including:
- 396 ci/325 hp: Available in the RS/SS model
- 302 ci/290 hp: Available in the Z28 model
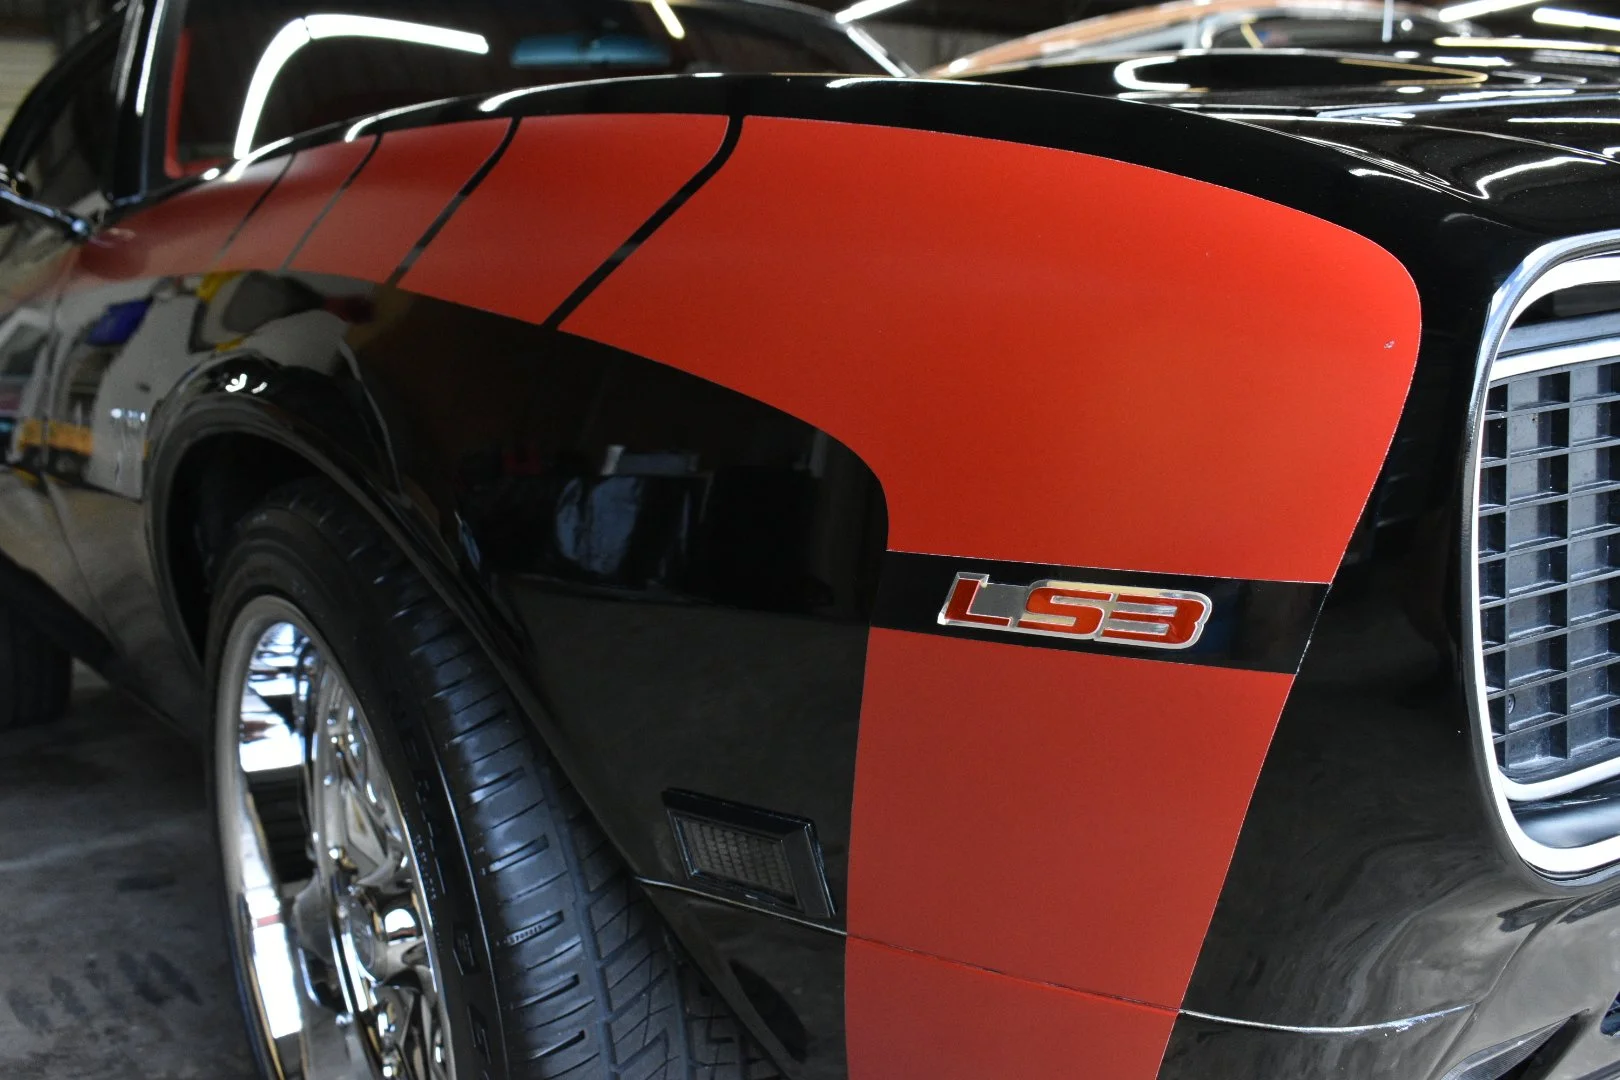
- 327: Available in certain models, such as the one showcased in Ideal Classic Cars' showroom.

Initial Inspection
Car has a GenIII 5.3 truck motor, and an early Gen 4l60e, original Gen III p59 ecu, psi conversion harness
Broken exhaust manifold bolts
Motor mounts are wrong for the car, dramatically shimmed on one side, and the wrong hardware is used.
Original manifolds should be replaced; a poor patch was done on the inside of the driver manifold
The transmission mount is completely wrong, mounted upside down on the wrong side of the subframe
Would need to replace the exhaust to install the correct style transmission cross member
Front coilovers are nearly completely maxed out on height, and would need to remove the drop spindle to bring the front end up
Suggest replacing coilovers
Radiator fans need to be upgraded, which will be an issue during the summer, and if AC is added
Severe gouges in the driver's rear tire, potentially from an exhaust hanger bolt that was hanging out of the frame
The fuel line runs unsafely and should be redone with a proper AN-style line
The fuel pressure regulator ran directly next to the exhaust, needs to be relocated
Subframe bushings are old and cracking
Floor pan missing seat braces
The rear brake line brackets broke off the axle
Rust coming through the passenger door
Rust coming through below the rear window, body work cracking
Rear tires rubbing on inner tubs
Body work cracking above the windshield on the passenger side
Dent on top of the passenger fender
Needs wiper blades
Blower motor turning, not moving any air
Both quarter window regulators either need to be rebuilt or have broken rollers
The driver's quarter window is missing a seal between the windows
play in steering
brake ok pulls to the right
Suggest a complete oil service
Headlight doors do not work
Play in the steering box
The column is loose in the car
Power steering leak
What
We
Did
Install rear lowering blocks, confirm pinion angle is correct
Remove and inspect QA1 rear shocks, found both set to firmest setting, causing bind and creak, freed them up and set to a more reasonable damping
Remove existing exhaust, had to cut out
Support transmission and remove the existing transmission cross member, install the correct cross member, confirm the drive line angle, and center the transmission in the tunnel
Remove existing fuel feed line, mount adjustable regulator under rear of the car, adapt existing feed and return lines to new fuel pressure regulator, make a new PTFE fuel line that runs from regulator up to the fuel rail
Secured and mounted the fuel line along the rocker panel and outside of the subframe
Replaced subframe bushings
Replaced the power steering gearbox
Removed existing transmission cooler lines
Fabricated brackets to mount the transmission cooler at the lower passenger side of the core support
Removed OEM cooler ports from the transmission, installed AN adapters
Made PTFE lines for transmission cooler, routed, and plumbed
Drained coolant, found the wrong coolant in the system
Removed the existing fan and radiator combo
Removed intake tube
Removed intake manifold
Removed the entire front drive
Removed front cover
Dropped the oil pan to gain access to the oil pump pick-up hardware
Removed oil pump and timing set
Removed the existing camshaft
Installed new camshaft, retainer plate, hardware, oil pump, and timing set
Removed rockers and installed trunnion upgrade on all rockers
Replace all valve seals
Swapped valve springs
Reassembled motor
Mocked up a new radiator
Installed fan shroud on radiator, installed fans
Made a wire harness to integrate into the ECU fan control logic
Disassembled the front suspension
Went through coilovers and set up correctly
Replaced the existing spindle with factory spindles to pick up ride height
Correctly shimmed brakes to avoid dragging or inconsistent bite
Bled the entire brake system, brake fluid was almost completely black
Disassembled grille
Disassembled the entirety of the electric headlight door system, chased through the wiring to find a continuity issue
Made a bushing for the passenger headlight door that was missing and reconnected to the actuator arm
Went through and set up all 4 micro switch stops
Reassembled the front grille section with a new grill and tested for functionality
Replaced wiper blades
Replaced all 4 tires; all tires were out of date
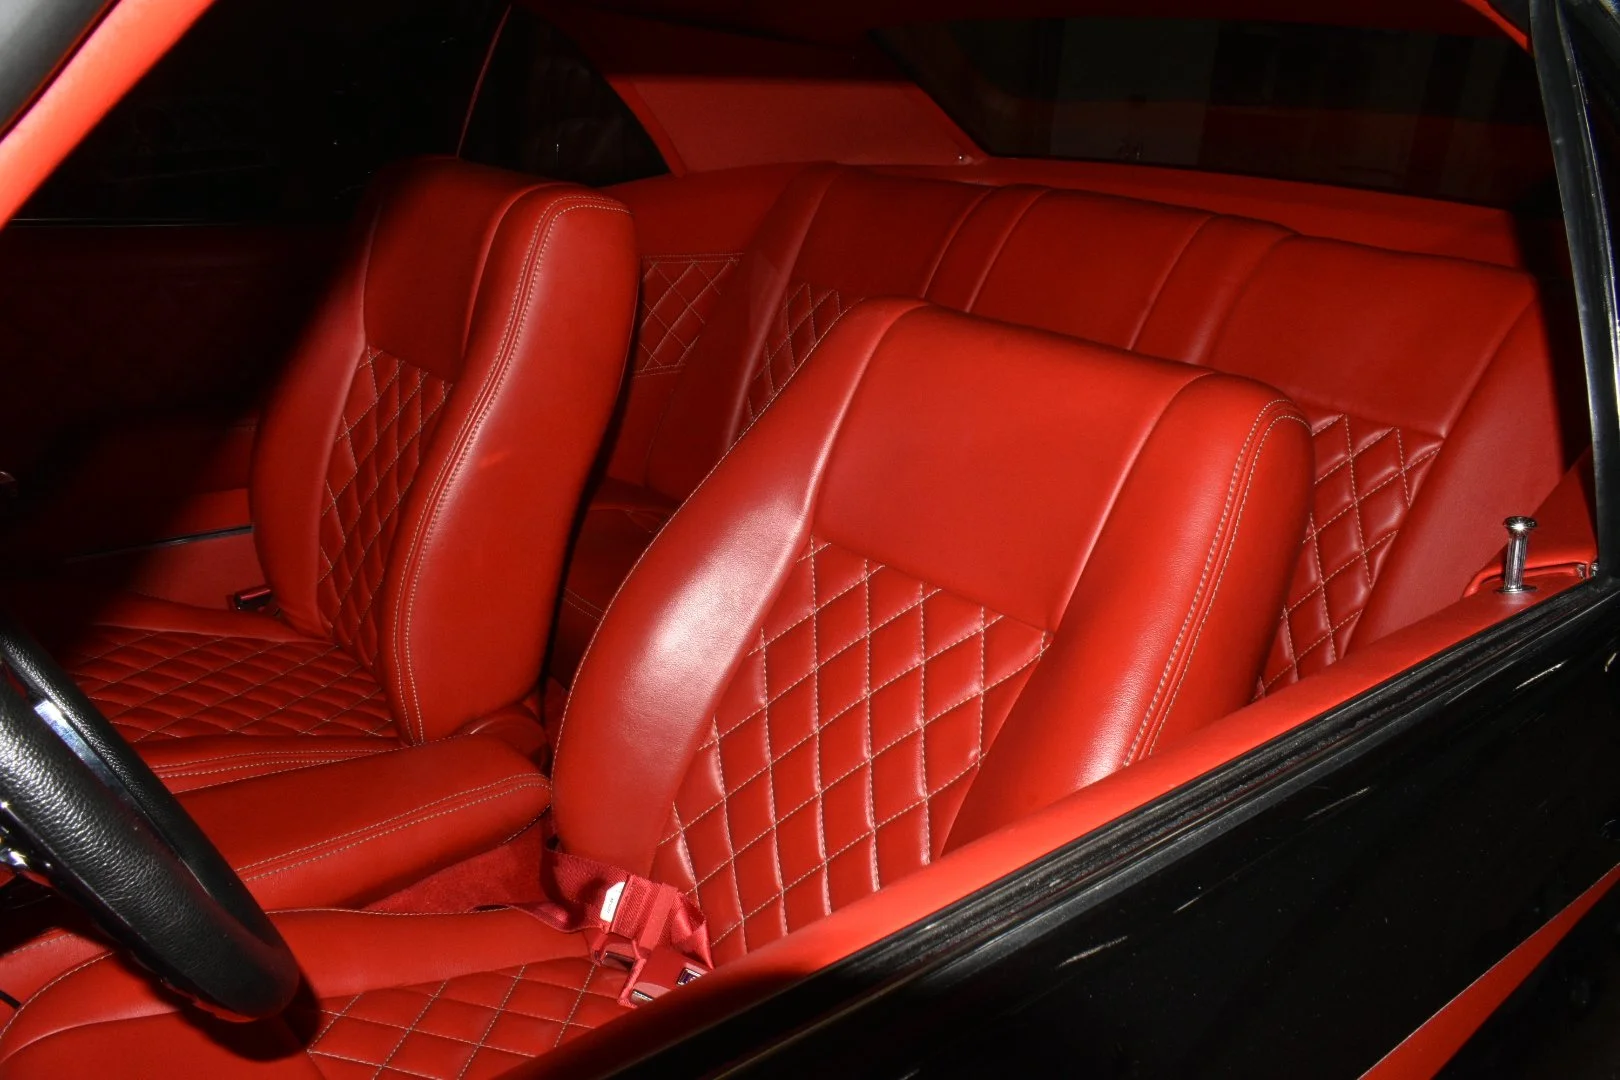
Removed rear interior, including seats and quarter trims
Removed quarter windows and regulators
Completely rebuilt regulators with new bushings and rollers
Reassembled and aligned windows to seal tight on the body, replaced quarter to front door trim/seal
Aligned both front windows
Ran power and ground wires from the engine bay into the trunk of the vehicle
Mounted the amp under the deck lid, along with bluetooth controller
Modified rear package tray with screens
Made mounting holes in the metal package tray for the rear speakers and installed
Reassembled rear interior
Finished wiring the sound system and tuned